Essential Tips for Germinating Seeds
Published 4:11 pm Tuesday, February 4, 2025
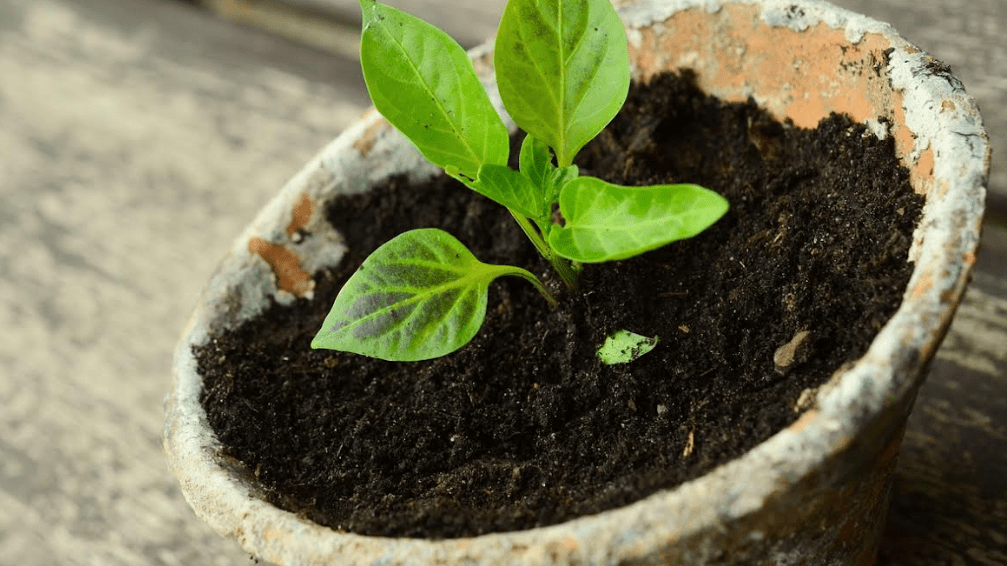
- Starting seeds is one of the most economical methods of growing plants and an exciting start to any season, not to mention it is fun to grow plants from seeds (courtesy: alamanc.com).
|
Getting your Trinity Audio player ready...
|
Now that winter has released her icy grip on Southeast Texas and pleasant weather has returned, it is an enjoyable time to begin tidying up the landscape. According to several 30-day weather prediction models our area will experience spring-like weather- Enjoy!
Our ‘seasonal’ sign gardeners, that it is time for the lawn cleanup process to begin. Start by
gathering fallen tree limbs (this will make raking leaves easier) before relocating them to another area for later disposition. Next, coral leaves by raking them into small mounds. Once the raking is completed, gather the mounds of leaves and relocate to a composting area or if using a lawn mower (ensure the mower deck is at the lowest setting) to shred leaves that will allow them to decompose more quickly without smothering or damaging. Remove plant debris and dead plants from vegetable gardens and flower beds. This is also an enjoyable time to amend garden soil by adding a fresh layer of soil, then top dressing with a 1 to 2-inch layer of composted manure.
Each year (before spring returns) I find myself sowing seeds or transplanting ‘starts’ earlier than suggested…this year will not be an exception! This weekend was productive in that raised vegetable beds were cleaned, manually cultivated, and amendments incorporated into the soil, including pulverized eggshells. Naturally, I decided to go a step further and planted green onions, parsley, cilantro, garlic, Chinese mustard, pak choi, tatsoi, and cucumbers. Some gardeners would say prematurely…perhaps not…time will tell!
Spring gardening for many gardeners (me included) begins with sowing seeds into seed trays for germination, followed by transplanting ‘starts’ into flower beds or vegetable gardens. There are countless varieties of ornamental plants that perform well once transplanted such as celosia, 4- o’clocks, salvia, impatiens, sunflower, zinnia, coleus, petunia, vinca, and many others. There are numerous vegetables and herbs which can be easily transplanted as well, such as tomatoes, peppers, eggplant, parsley, thyme, rosemary, cilantro, oregano, cabbage, collard greens, broccoli, cauliflower, onion, and many more. There are plants which do not transplant as well as others, meaning it is best to direct sew seeds where they are to grow such as nasturtium, corn, okra, black-eyed Susan vine, moon vine, cucumber, potato, and numerous others.
Regardless of what you plan to grow, there are some ‘timely’ tips which can minimize the
aggravation of seeds not germinating. Let me reiterate a point from articles past and that is
purchasing seeds is dramatically more cost effective and much less expensive than buying
individual plants. Gardeners have more variety and options meaning they can select exactly the varieties wanting to grow rather than be limited by available plant selections at local retailers.
The cost of a seed packet typically ranges between $3 to $5 each and is often sold by weight for ornamental plants, where vegetable seeds are sold by number of seeds per packet but there are exceptions depending on if purchased through an online retailer or a local feed store. Seed packets normally have twenty seeds or more, whereas purchasing an individual plant will cost from $2.00 or more. Let me add perspective on what this means to you if you are looking to purchase twenty plants for spring planting, then plan to spend at minimum $40 plus tax. This is for a single type of plant, what if you wanted twenty plants of five varieties? The cost would increase substantially.
Starting seeds is the most economical method of growing plants and an exciting start to any season, not to mention it is fun to grow plants from seeds! Below are a few quick tips to help you begin growing seeds:
- Select seeds and purchase. Review seed catalogues or visit local feed stores to find seed
varieties of choice. Note: there are many good seed companies online (Wilhite- TX,
Baker Seed Company, Seeds and Such)
- Gather materials needed to plant seeds. There are numerous container types which can be
used so be thrifty by using items such as egg cartons, paper cups, deli containers, plastic
shells used for berries and spinach or make paper cups from newspaper. Another option is
to purchase seed starting kits that have everything in them.
- Recycling containers from previous use is an acceptable option but they must be cleaned
(removing soil), sanitized, rinsed, and dried. Sanitize by dipping in a container holding a
mixture of 1 part sodium hypochlorite (household bleach) to 9 parts water. Allow
containers to remain submerged for 10 minutes. After soaking, rinse with clean water and
allow containers to thoroughly dry. For safety, wear rubber gloves during this task.
- New potting mix is necessary which is specifically formulated for starting seeds, another
option is to make seed starting mix for yourself. The successful recipe I use starts by
sifting sphagnum peat to remove large clumps and twigs. Add vermiculite in equal parts.
Mix, then moisten the mixture with water until a handful of mixture in the palm forms a
ball yet water doesn’t drip when the ball is squeezed.
- Help seeds germinate and keep the ‘dampening off’ disease by sprinkling powdered
cinnamon over the top of the potting mix before sowing seeds. Cinnamon kills the fungus
(disease) that attacks the seedlings causing the stem to rot at the base of the plant.
- Seeds which require dark to germinate should not be covered deeper than the width of the
seed. Those requiring light, cover with a light dusting of vermiculite as this will retain
moisture close to the seed while allowing light to reach the seed.
- As an added defense against dampening off disease, mist seeds with a strong mixture of
chamomile and/ or cinnamon tea, as well as water with the tea mixture.
- ALWAYS water containers from the bottom. Ensure there is good air flow around
seedlings once sprouted and humidity is elevated.
- Once seedlings have 2 to 4 ‘true’ leaves (not the first two appear), transplant seedlings
into larger pots or move them outside if the temperature is warm enough. Before
migrating them outside, it is best to harden them off by placing them in a shady, protected
area, away from sun and wind for a few hours daily. Gradually increase the amount of
light to which they are exposed and do not allow them to get cold.
Until next time fellow gardeners, let’s go out and ‘sow’ ourselves a greener and more sustainable world, one ‘germinated’ seed at a time! Please send your gardening questions to:
jongreene57@gmail.com